Home — Training Resources — Fine Line Techniques
— RESOURCES / TECHNIQUES —
Essential Fine Line Tattoo Techniques
Fine line tattooing leaves nowhere to hide. Each pass of the needle has to go in at the right depth, at an even speed, on skin that is held still. These six techniques are the foundation of that control, and you can practise every one of them long before you work on a client.
— IN THIS GUIDE —
1/6 Hand bracing
2/6 Skin stretching
3/6 Consistent hand speed
4/6 Depth control
5/6 Whip and stipple accents
6/6 Planning line order
— 1/6 TO 3/6 —
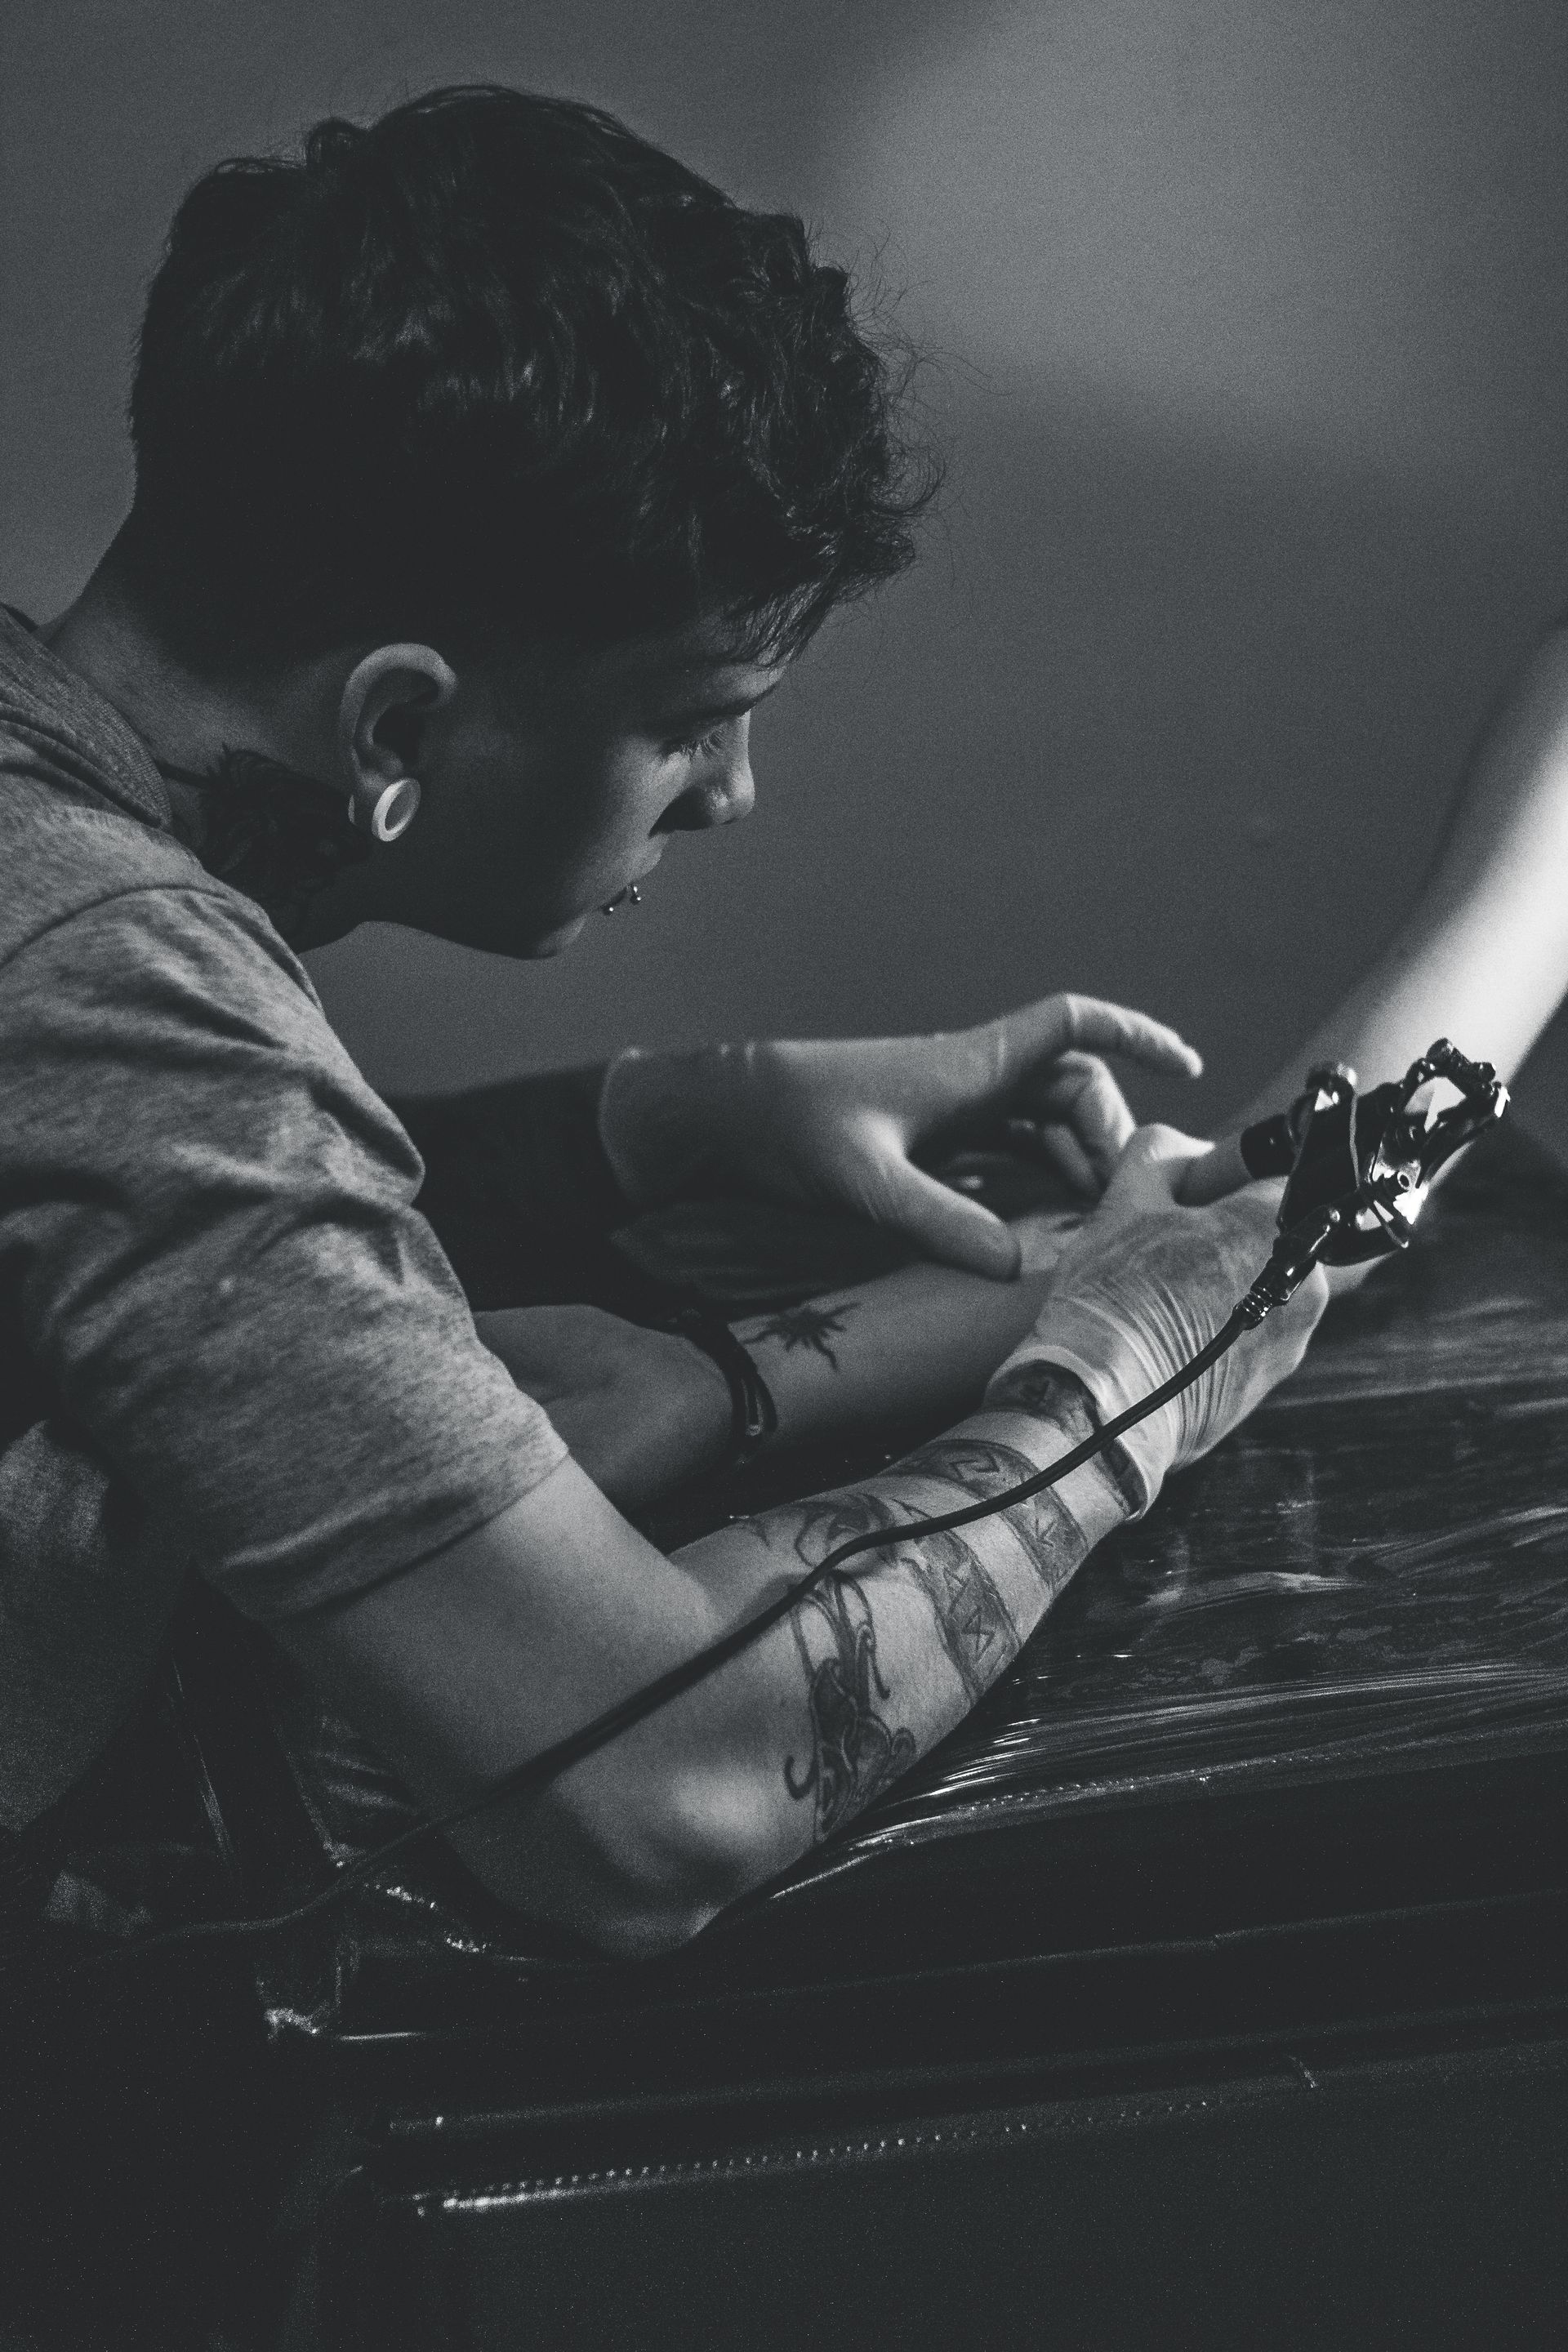
Steadiness: the hand, the skin and the pace
Hold the hand, hold the skin
Hand bracing
A wobbly fine line rarely comes from the needle. It comes from a hand floating in the air. Rest the side of your palm or your little finger on the client’s skin or the armrest, so the machine pivots from a fixed point. Keep that anchor close to the line you are pulling, and move it as the line travels instead of stretching your reach.
Skin stretching
Skin that ripples under the needle bends the line and makes the depth uneven. Use your free hand to pull the skin taut in two directions, just enough to give a flat, firm surface without distorting the stencil. If you stretch too hard, the design shifts when the skin relaxes. If you stretch too little, the needle drags. Adjust the stretch as you move over curves, joints and softer areas.
Consistent hand speed
Your hand speed needs to match how your machine is running. Move too slowly and ink builds up in heavy spots and blowouts. Move too fast and the line skips and heals patchy. Choose a pace you can hold from the start of the line to the end, breathe out on longer pulls and finish the whole stroke rather than stopping halfway. For more on pulling a line from start to finish, read How to Pull Clean Tattoo Line Work.
— 4/6 AND 5/6 —
Depth and accent
Once the line is steady, the next skill is knowing where the ink sits in the skin, and how softly shade can support a line without taking over.
Depth control
Fine line work depends on putting ink into the same layer of skin every time. Watch how the skin responds as you wipe. A clean line looks crisp and even. A line that looks raised, torn or spreading tells you something has changed. Control depth with your needle angle, how far the needle extends and a steady hand, not by pressing harder.
Whip and stipple accents
Whip shading is a flicking motion. The stroke starts with full saturation and lifts away so the tone fades out. Stippling builds soft shade from single dots, placed closer together for darker areas and further apart for lighter ones. In fine line pieces, use both lightly: a hint of shade beside a line, never a replacement for it.
— 6/6 / SEQUENCE —
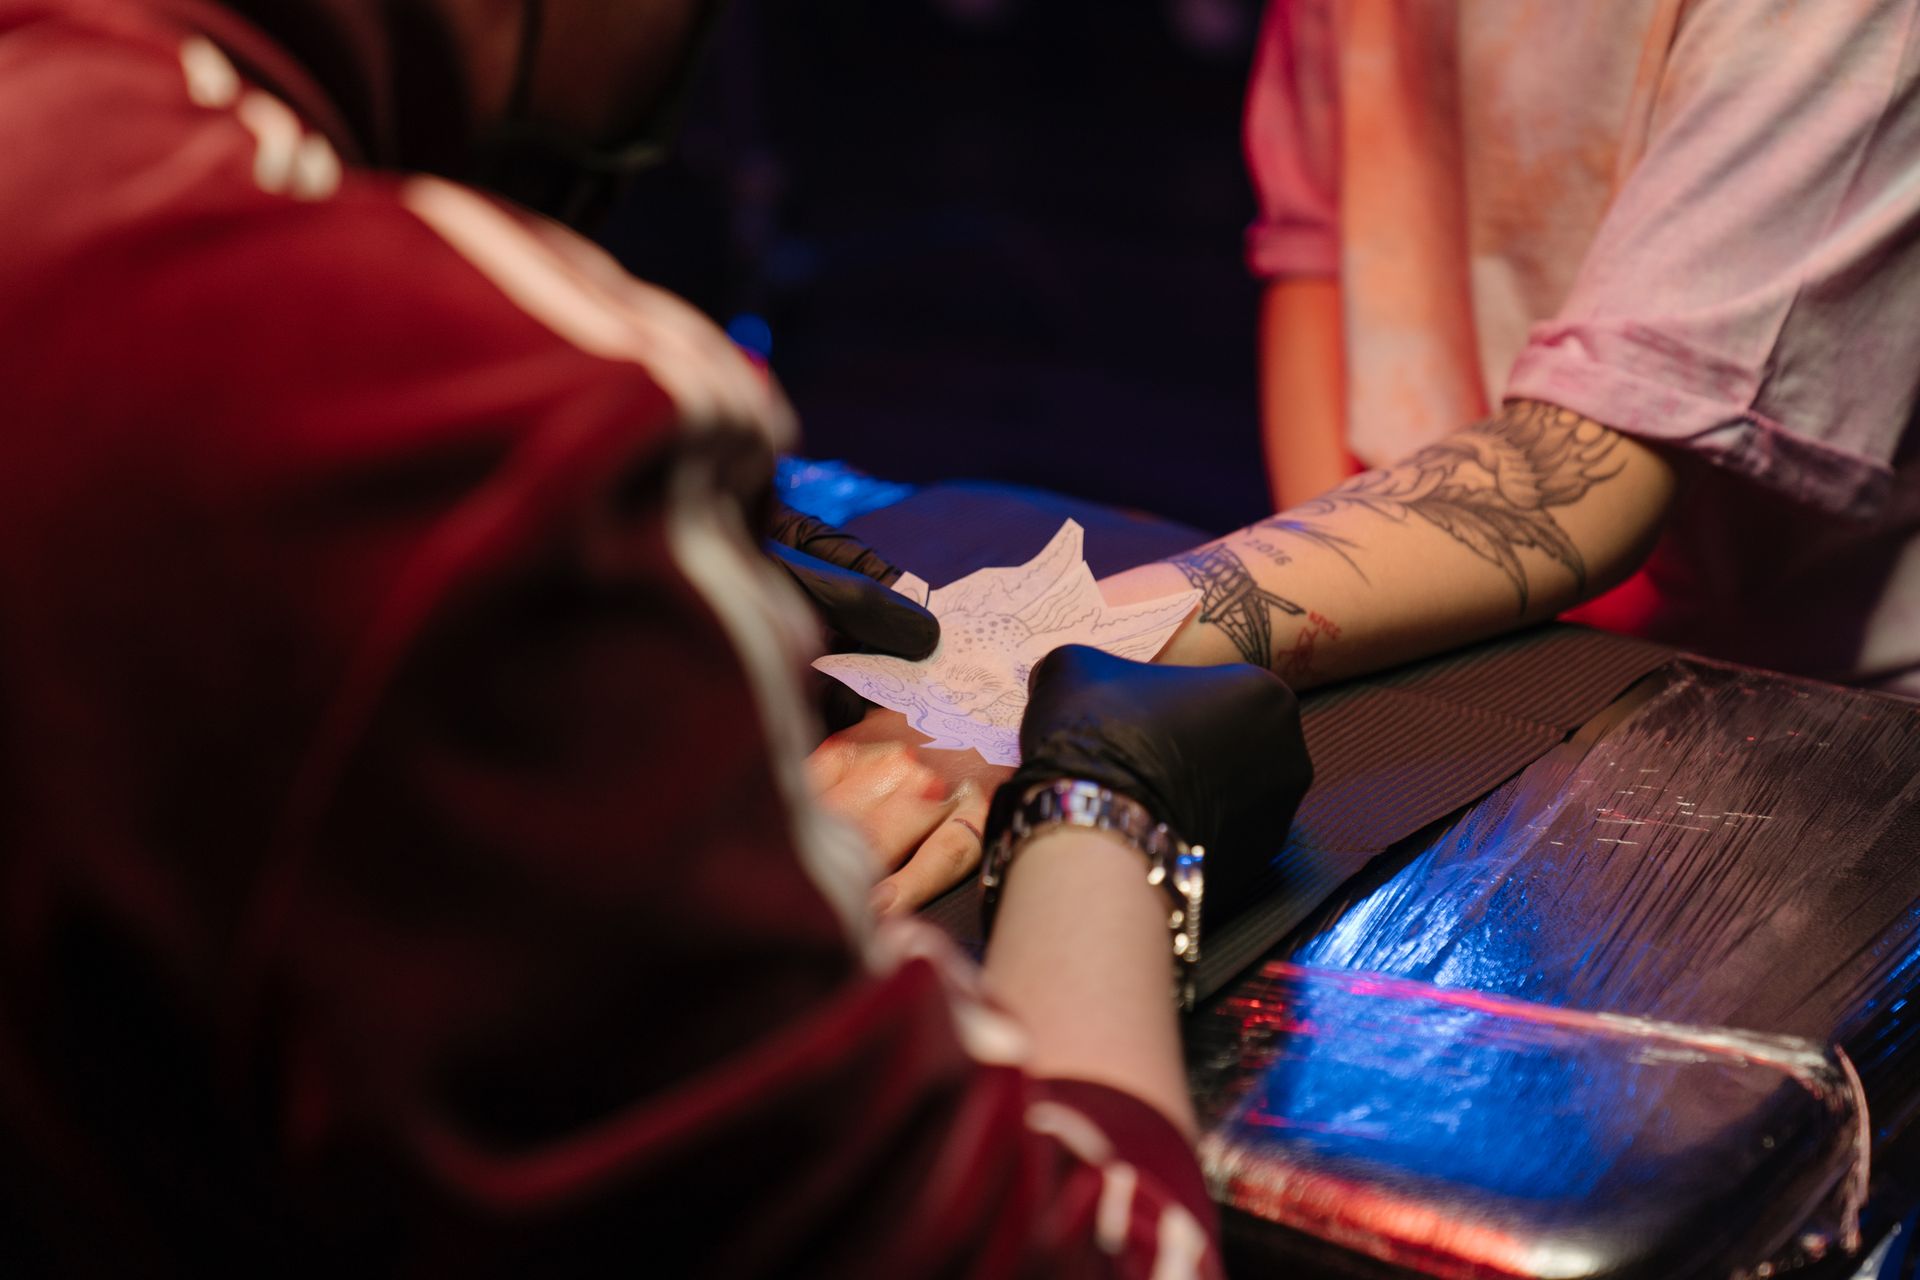
Planning line order
Plan the order before the machine starts. A good sequence protects the stencil and keeps fresh work clean.
— Start on the side that keeps your hand off lines you have just pulled.
— Pull the long structural lines first, while the stencil is at its clearest.
— Add interior detail next, then finish with shading and accents.
— On curves, move the client or yourself instead of twisting your wrist.
— PRACTICE / NEXT —
A drill list to use at the bench
Practise, then train with guidance
— Draw long lines on paper without lifting the pen, then repeat them on practice skin.
— Check your brace and stretch before every line.
— Keep the same hand speed for the whole stroke.
— Wipe and check the line after each pass.
— Mark the line order on your stencil before you begin.
Drills build habits, but a trainer can spot the small errors you can’t yet see. Needle & Technique Training teaches bracing, stretching, speed and depth in a structured way. If you already tattoo and want sharper precision and finer detail, Advanced Fine Line Training is the next step. Keep reading with Tattoo Needles Explained and Tattoo Machines for Fine Line. You can also send a question through our contact page.