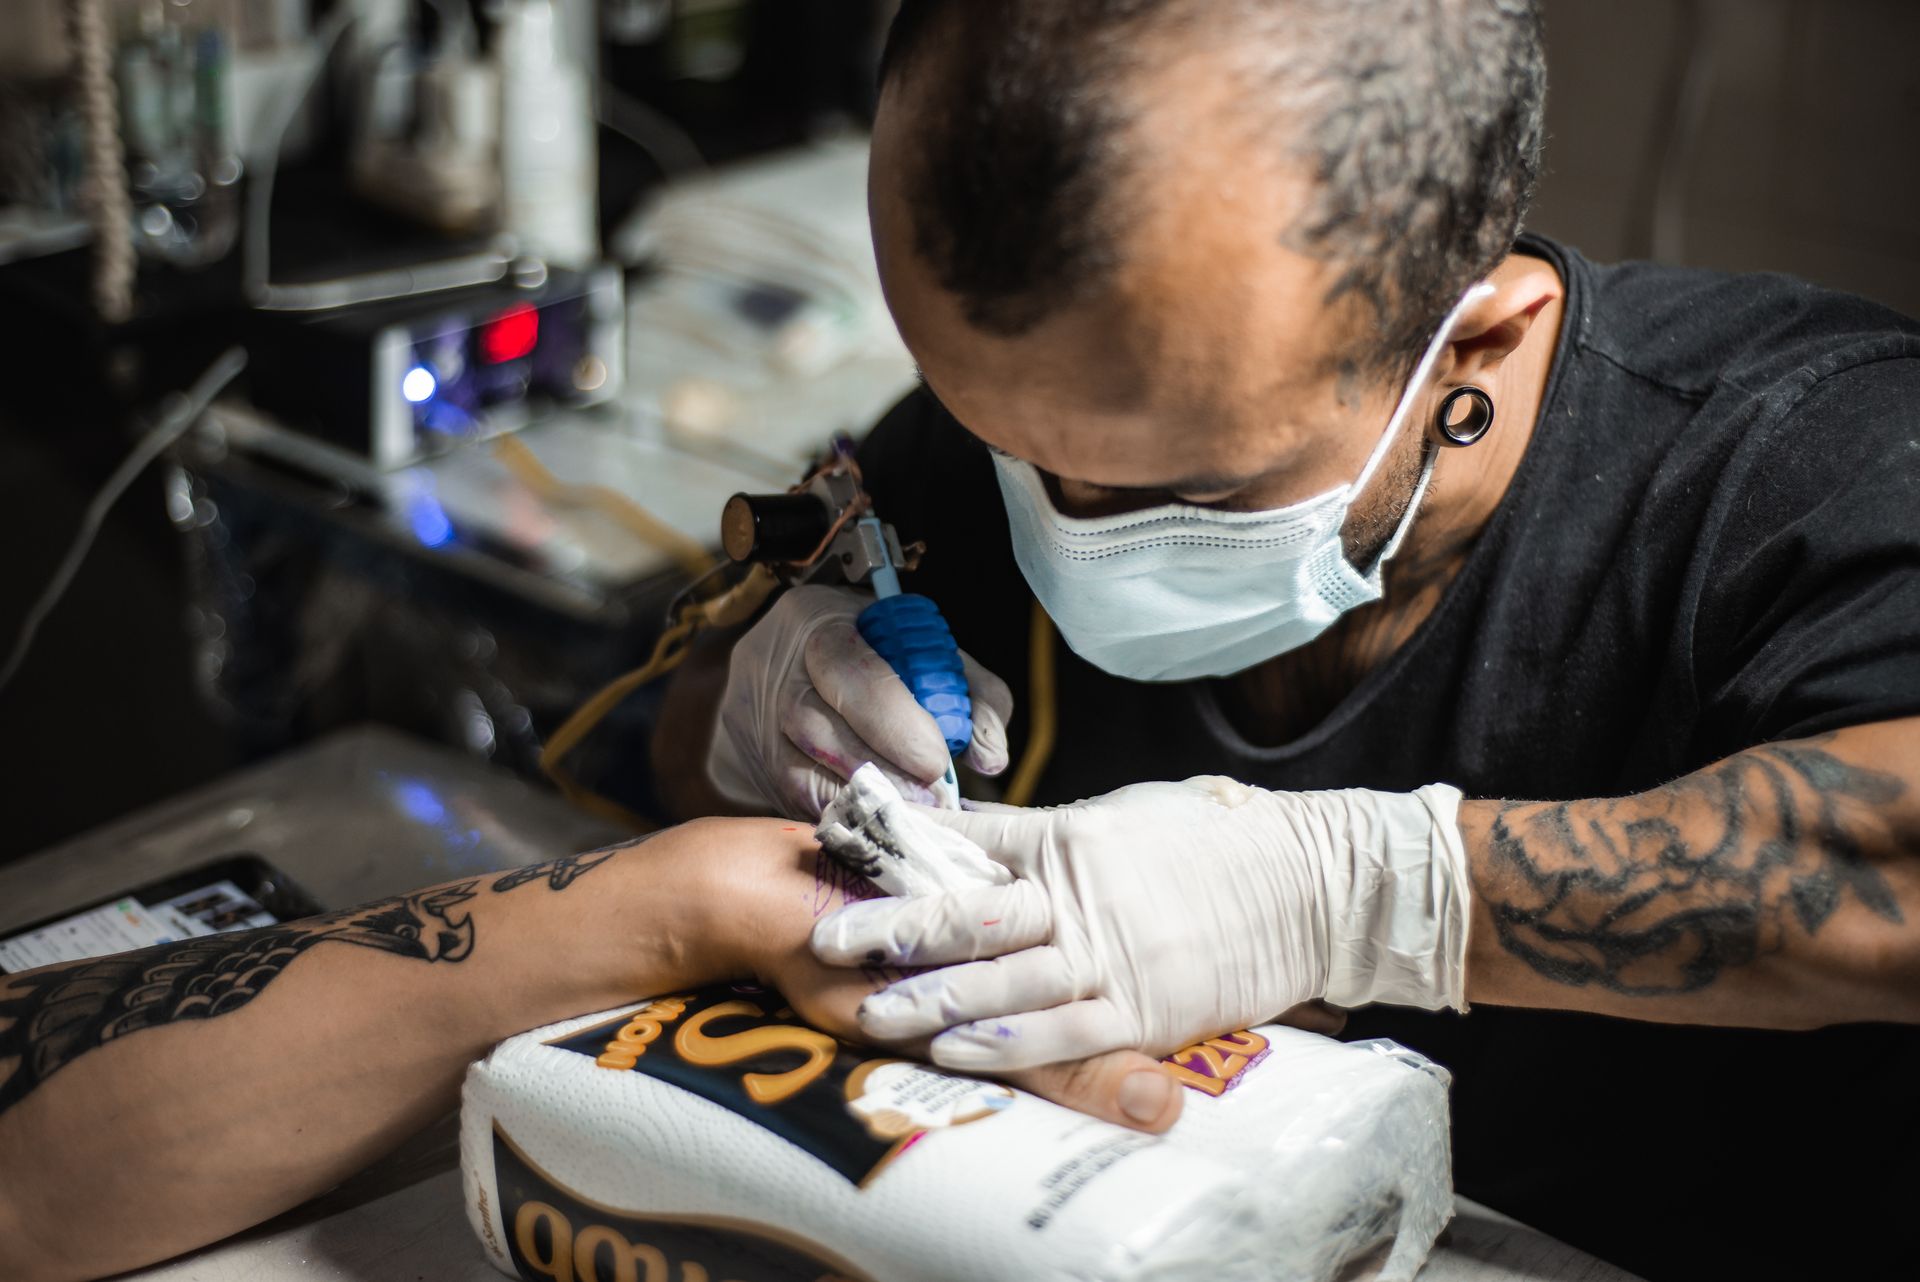
Reference photograph: a gloved artist working a line on the forearm
Home — Training Resources — Line Work
— GUIDE / LINE WORK —
How to Pull Clean Tattoo Line Work
A clean line is the sum of small, repeatable decisions: how your hand is braced, how the skin is stretched, how fast the machine travels and how deep the needle sits. When one of them drifts, the line shows it. This guide covers the three faults every new artist runs into and the practice routine that fixes them.
— 01 / DIAGNOSIS —
Three faults, three causes
Most unclean lines fall into one of three patterns. Name the pattern first. Each has a different cause, and fixing the wrong one usually makes the line worse.
FAULT i
Shaky lines
Cause: the hand moves from the fingers with nothing anchoring it, grips the machine too tightly or hesitates halfway through a stroke.
Fix: rest the side of your hand or little finger on a steady point, relax your grip and move from the forearm in one committed pass. Decide where the line ends before you start it.
FAULT ii
Blown-out lines
Cause: ink spreads under the skin into a soft halo. This usually happens when the needle goes in too deep, the angle is steep and changing, or the same line is worked over again and again.
Fix: use a lighter touch, keep a consistent angle and aim for one clean pass. A blowout on real skin is permanent, which is why depth control is drilled on practice skin first.
FAULT iii
Patchy lines
Cause: gaps and skips show up when your hand travels faster than the machine can deposit ink, the needle sits too shallow or the stretch slackens mid-line.
Fix: slow your hand to match the machine, keep an even stretch the whole way and make sure the needle is carrying ink before each pass. The fix is steadiness, not more pressure.
— 02 / PRACTICE SKIN —
A drill sequence
Practice skin is for mechanics: bracing, stretch, speed and angle. It doesn’t behave like human skin, so use it to build habits, not to judge depth. Work through the drills in this order and date each sheet so you can compare them later.
— Straight pulls at one speed. Fill a sheet with parallel lines. Keep them evenly spaced and pulled at the same speed from start to finish.
— Curves and circles. Turn the sheet rather than twisting your wrist, so your hand always pulls in its strongest direction.
— Stops and rejoins. Break a line on purpose and pick it up again without leaving a dark knot where the two strokes overlap.
— Traced stencils. Transfer simple shapes onto the skin and follow them exactly, checking whether your line wanders off the guide.
— One design, repeated. Tattoo the same small design several times across a sheet. Consistency matters more than any single good result.
— 03 / STENCIL —
Following the stencil
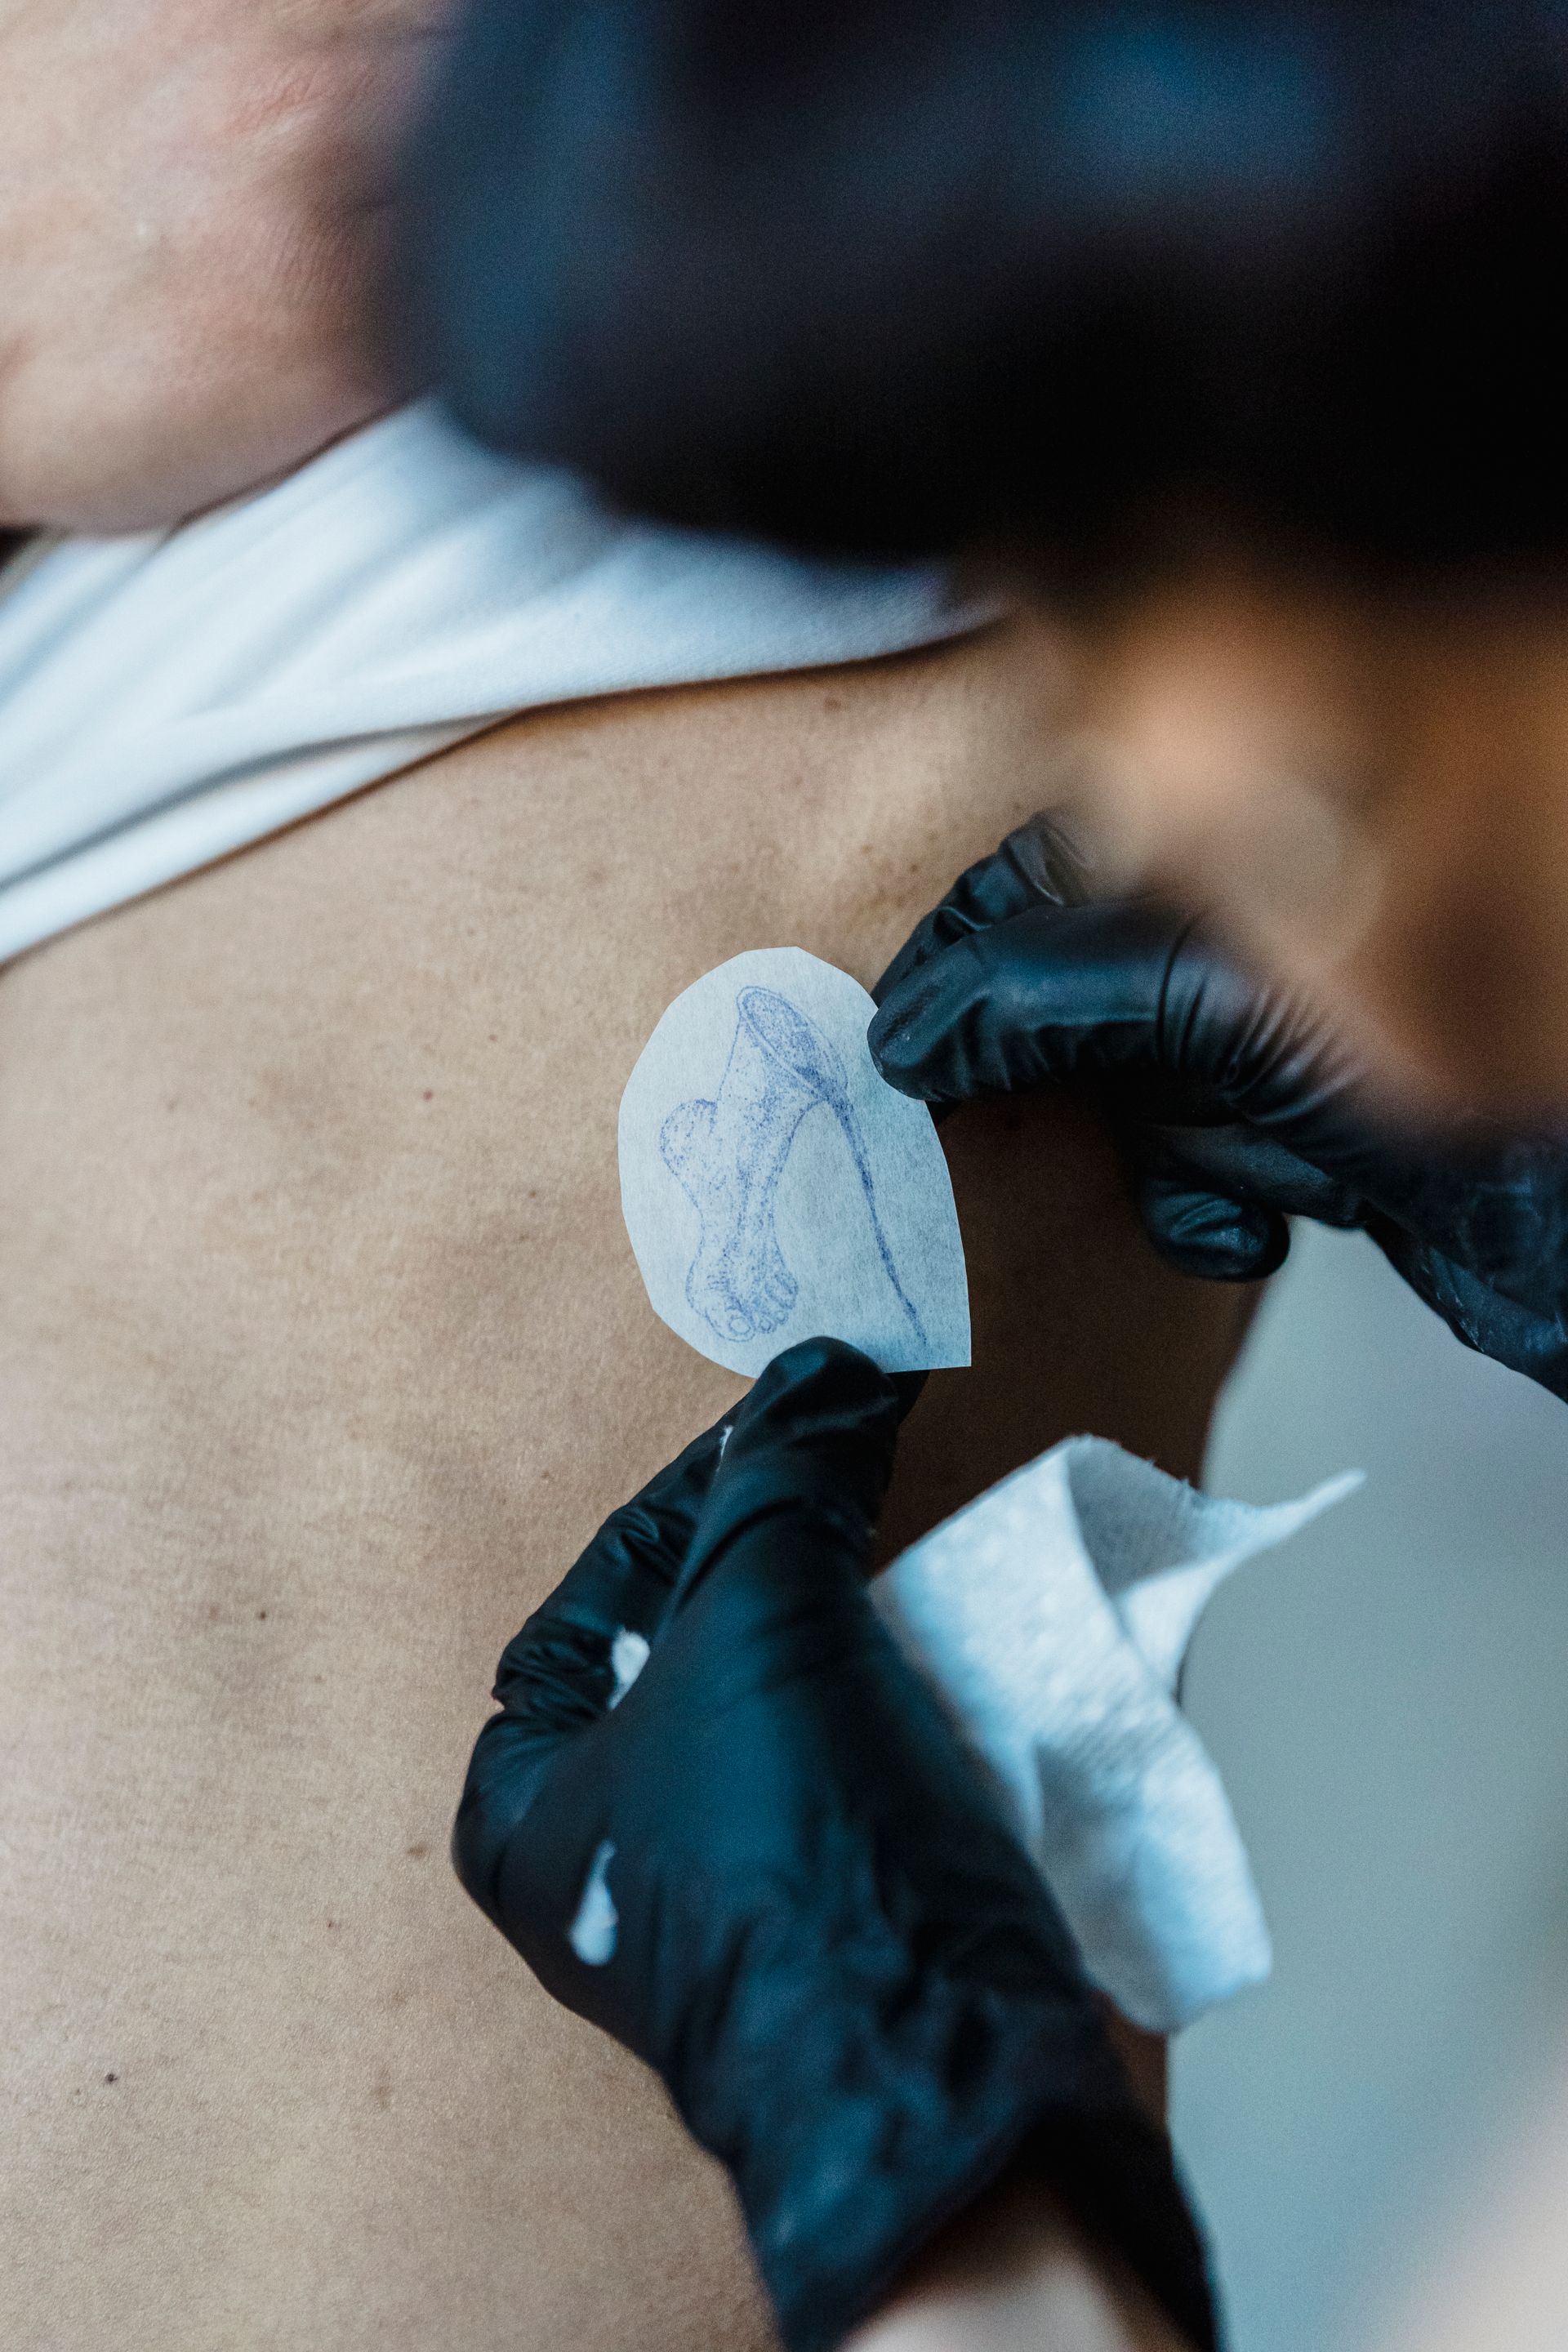
A stencil is only a guide if it stays readable. Let the transfer set before you start, and wipe gently across it, not along it.
Plan your line order so your hand never rests on work you haven’t done yet. Most artists pull lines towards themselves and start on the side away from their working hand. Follow the centre of each stencil line, not its edge. On fine work, riding the edge moves the whole design slightly off its drawing.
— 04 / PACING —
Speed you can repeat
Clean lines come from a speed you can hold, not from going slowly. If you crawl, the needle keeps working the same spot and the line swells. If you rush, it skips.
Find the pace where your hand and machine agree, and keep it through the whole stroke, curves included. Pause between lines, not during them. When your hand tires, stop the session. A tired hand pulls a line you’ll have to live with.
— 05 / WHERE TO TRAIN IT —
Train line work with feedback
02 Beginner Fine Line Tattoo Course
Build line basics from scratch, starting with practice skin drills.
06 Needle & Technique Training
Focus on needle choice, depth, angle and line control.
01 Fine Line Tattoo Course
Learn professional fine line tattooing from design to finished line.
— RELATED READING —
— Essential Fine Line Tattoo Techniques
— Tattoo Needles Explained for Fine Line Work
— Tattoo Machines for Fine Line: Rotary, Pen and Coil
— Tattoo Hygiene and Safety Basics for New Artists
Not sure which course fits your stage? Get in touch →