Home — Training Resources — Tattoo Design
— GUIDE / DESIGN —
Designing for Fine Line Tattoos
A fine line design isn’t just a drawing made smaller. It has to work on skin that moves, stretches and ages, with lines that soften a little as they heal. This guide covers the choices that decide whether a delicate piece still reads clearly years later.
— IN THIS GUIDE —
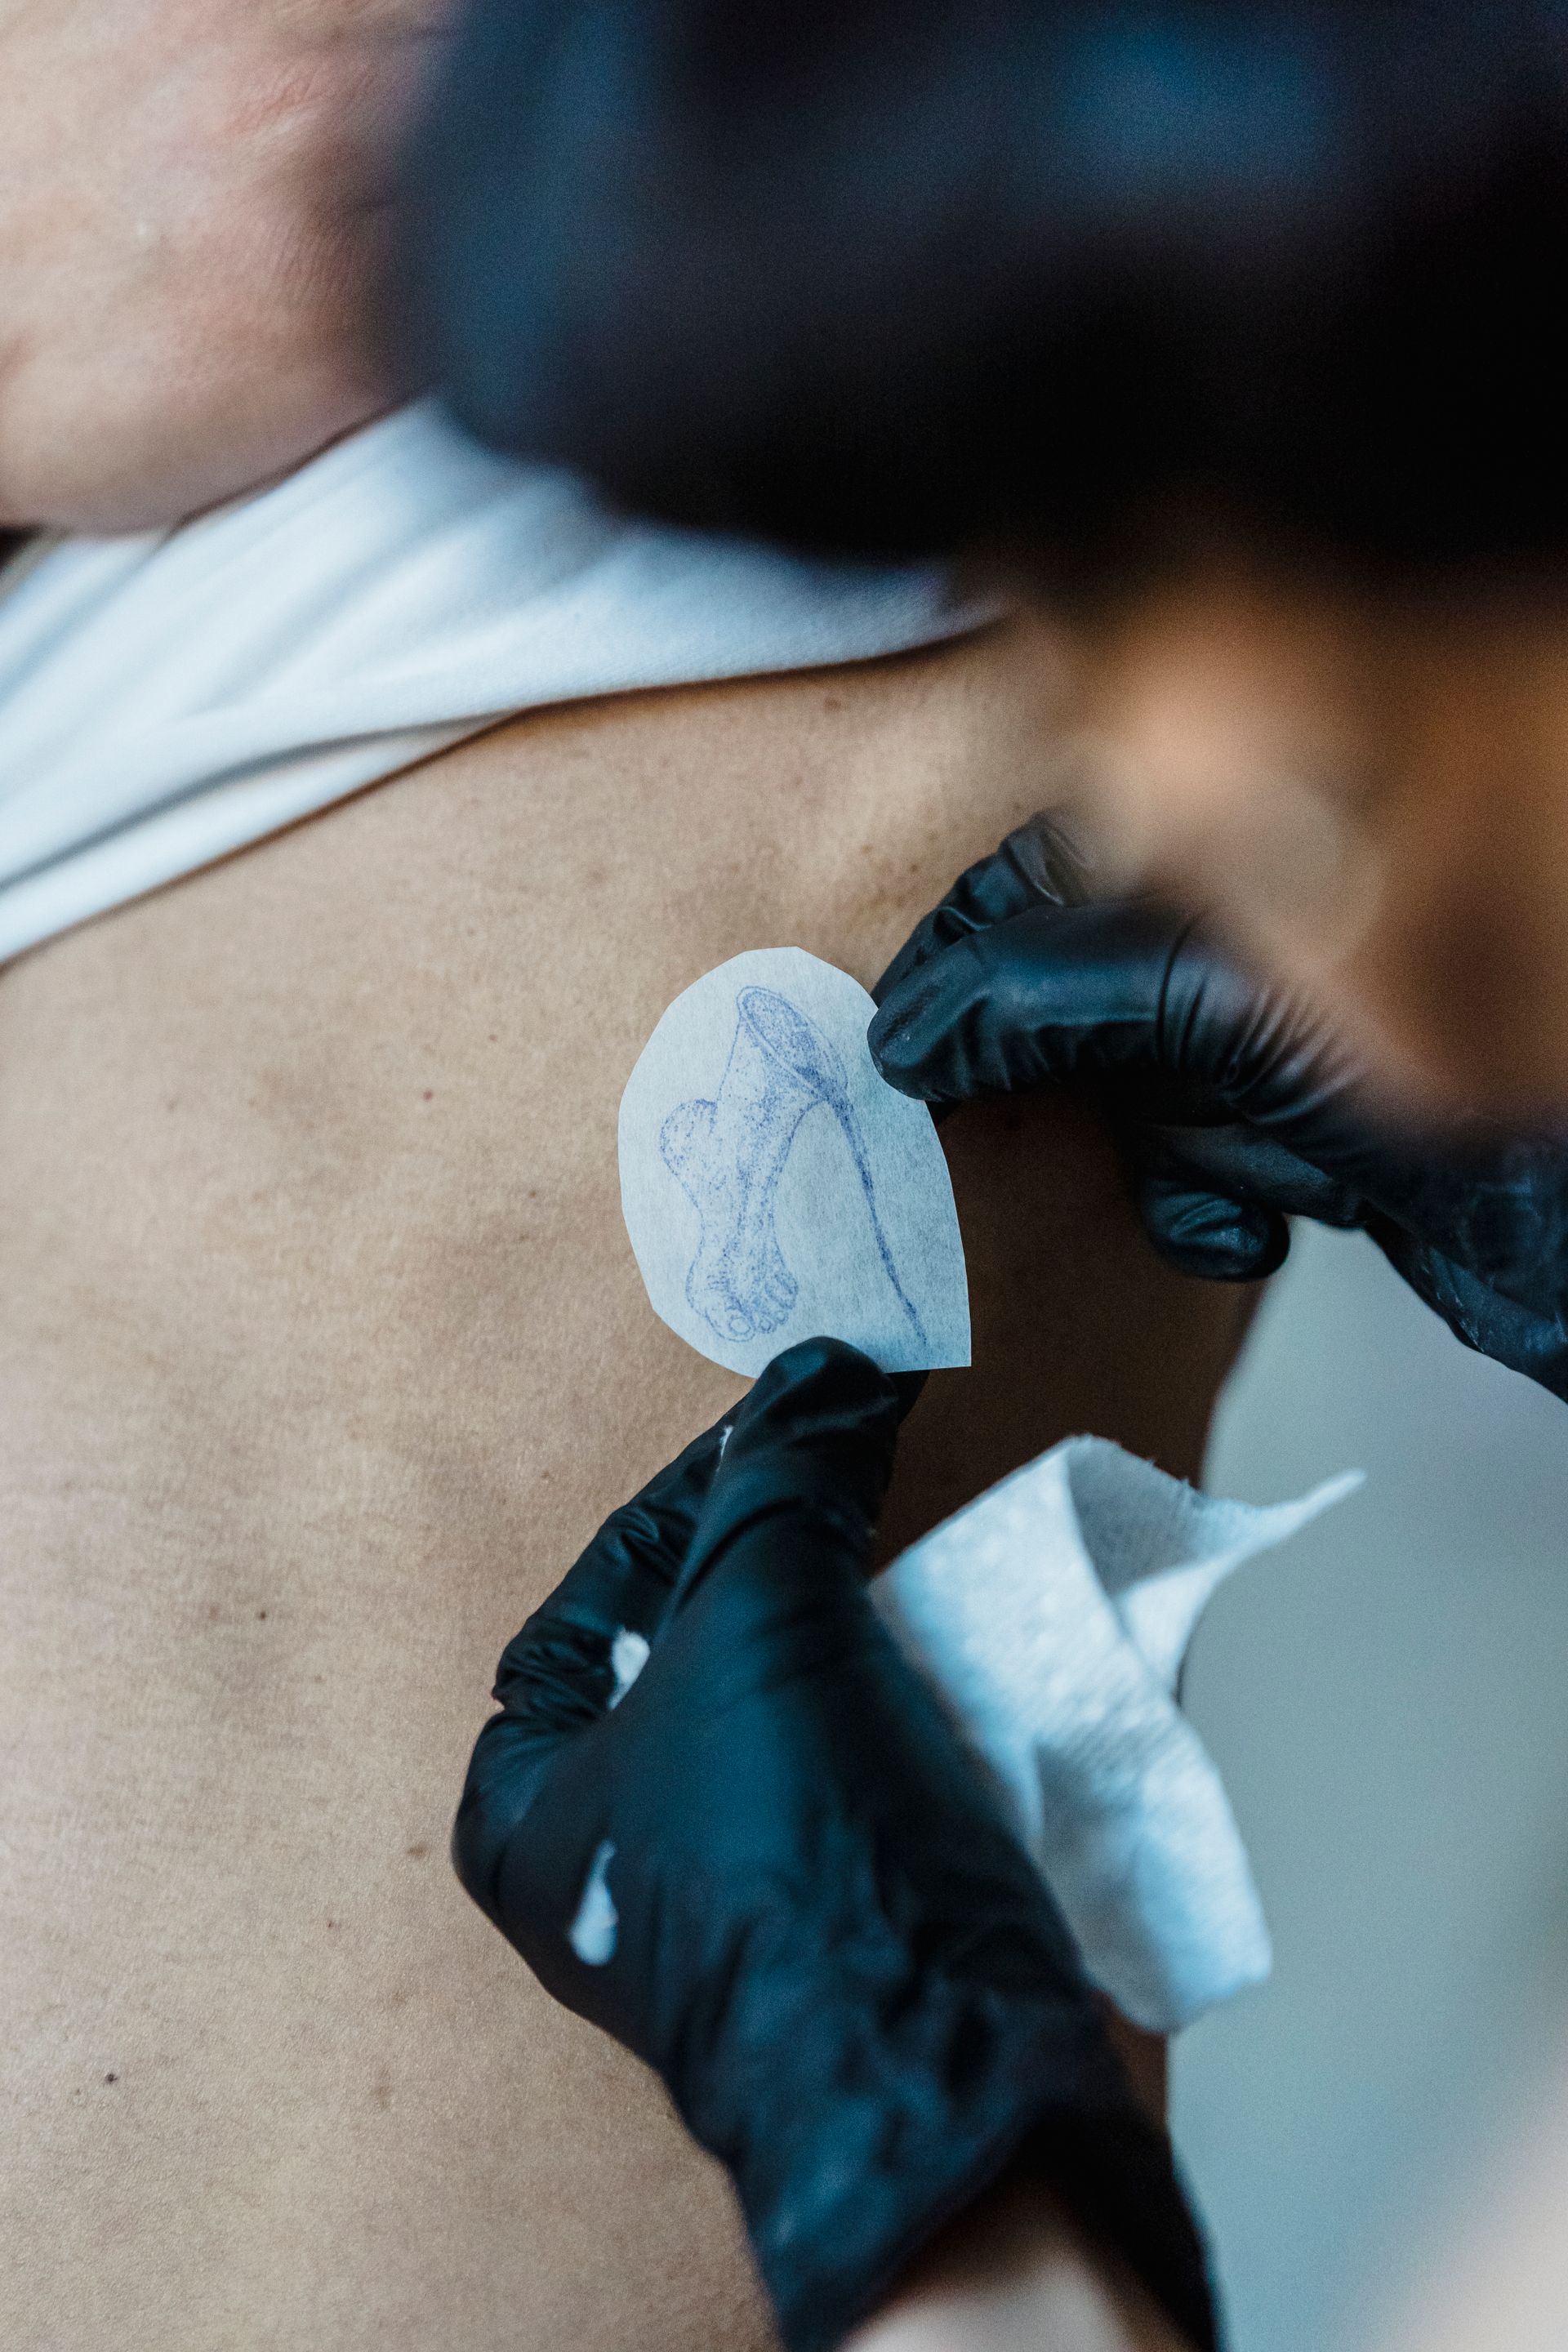
Reference photograph: a stencil being placed before tattooing
i Detail limits
ii Spacing that holds up
iii Scale to placement
iv Flow with anatomy
— i / DETAIL —
Know where detail stops
Paper forgives things that skin won’t. Tiny lettering, tight hatching and small enclosed shapes look crisp on a page. Once healed, they can fill in and blur together. A good fine line design keeps only the detail the tattoo can hold at its final size.
— Cut decorative detail before you cut the main outline.
— Suggest texture with a few confident marks, not dozens.
— Open up enclosed shapes such as small petals, eyes and loops in letters.
— Print the design at its real size and read it from arm’s length.
— ii / SPACING —
Spacing that holds up over time
Ink settles a little under the skin over the years. The gaps between lines are what keep a fine line piece readable, so plan the space around each line as carefully as the line itself.
Gaps between lines
Parallel lines and close outlines need more room than they seem to on paper. If two lines might merge as they soften, move them apart or turn them into one.
Hierarchy of line
Give the main silhouette the strongest line and keep the finest lines for interior detail. That way the shape still reads even if the smallest marks fade.
Open skin as material
Bare skin is part of the design. Leaving space around a piece keeps it light and gives it room to age without looking crowded.

Reference photograph: design options laid out side by side
— iii–iv / SCALE & FLOW —
Scale to placement, flow with anatomy
Size the design for its spot
A design that works across a forearm may not survive being shrunk onto a finger or behind an ear. Set the placement first and then simplify the drawing to match. Don’t squeeze a detailed drawing into a small space.
Follow the body's lines
Stems, script and linear motifs look best when they follow the direction of the muscle or bone beneath them. Check the design with the limb relaxed and in motion, because a line that sits straight in one pose can bend in another.
— v / STENCIL —
Preparing a clean stencil
With fine line work, the stencil is the plan the needle follows. Any unclear line on the transfer can become a line you have to guess at on the skin.
01 Redraw the final line art as single, clean strokes with no sketchy overlaps.
02 Take out shading guides you won’t follow as a line.
03 Check the scale on the actual placement before you commit.
04 Line the stencil up with the body’s natural lines and check it from more than one angle.
05 If a transfer is smudged or crooked, remove it and apply it again instead of working around it.
— TRAIN THE EYE —
Design judgement improves fastest with guided feedback on your own drawings.
Fine Line Tattoo Design Course →
Composition, scale and placement for fine line work.
Advanced Fine Line Training →
Finer detail and precision for artists who already tattoo.
Further reading: How to Pull Clean Tattoo Line Work · What Is Fine Line Tattooing?
Have a question first? Contact us.